Cannon Tower Guide: Blasting Ground Groups in Sozo
A practical cannon tower guide for Sozo Tower Defense: placing explosive shells where enemies bunch up, what the Cannon cannot hit and what to pair it with.
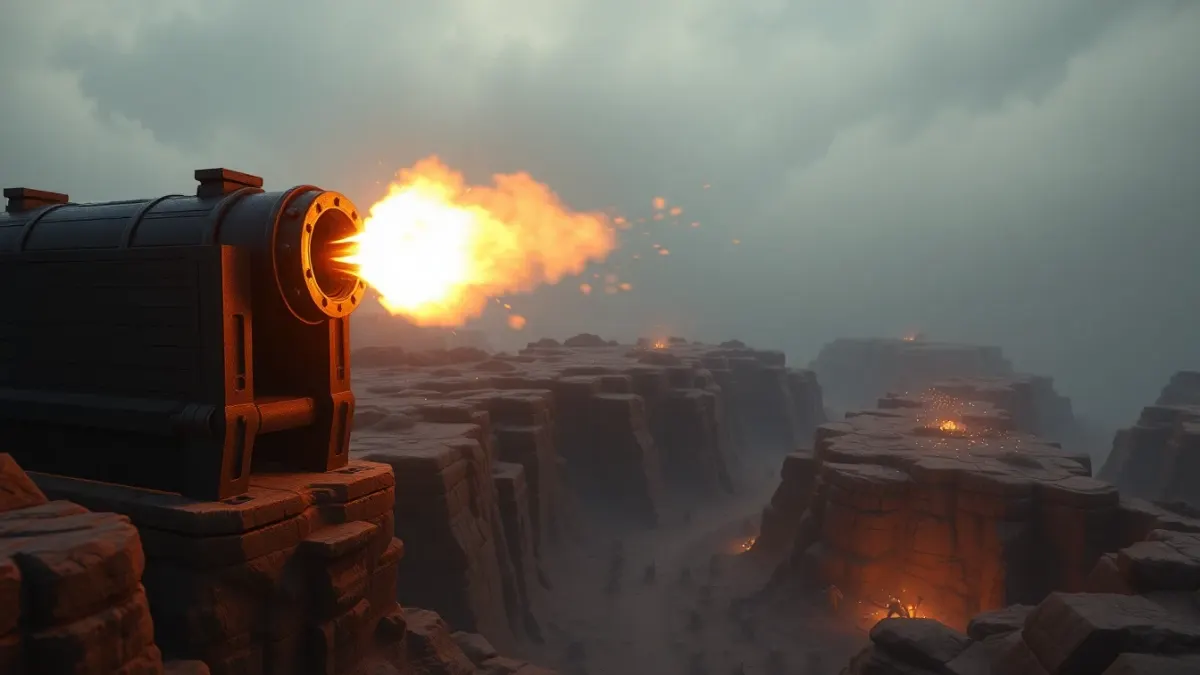
When a wave arrives as a tight clump of ground monsters, a single-target tower feels like bailing out a boat with a spoon. The Cannon is the answer. In Sozo Tower Defense it fires explosive shells that blast whole groups of ground enemies, and a good cannon tower guide is mostly about one question: where do the enemies bunch up?
Why groups are the Cannon's whole point
Explosions hit an area, not a single target. The more enemies stand close together when a shell lands, the more value you get from each shot. That means a Cannon next to a Ballista is not a duplicate; it is a different kind of tool. The Ballista picks off individuals, the Cannon punishes crowds.
Note the key limitation in the game's own description: the Cannon is for ground enemies. Do not count on it against flyers. For those, see our Missile Battery guide.
Finding the bunching points
Enemies do not spread evenly along a path. They tend to clump in a few predictable places:
- At the start of a wave, before faster monsters pull ahead.
- After a slow effect. If a Frost Spire slows the lead monsters, the ones behind catch up and stack.
- At sharp corners, where the line compresses as monsters turn.
- Behind a tanky enemy that is moving slower than the rest.
The second point is the one to remember. A Frost Spire plus a Cannon is one of the most natural pairings in the game, because slowing the wave makes it denser right where the shells land.
Placement checklist
- Watch one wave without touching anything and note where the crowd forms.
- Put the Cannon within reach of that spot, not at the entrance where monsters are still strung out.
- Keep a precise tower such as the Ballista nearby for stragglers that survive a blast.
- Check that no part of the Cannon's job is air defense; if the level has flyers, plan something separate.
Upgrading the Cannon
Like every tower in Sozo, the Cannon has three tiers. Because its value scales with the crowd, upgrade it once you have confirmed that a reliable bunching point exists. A well-placed Cannon is worth a tier; a badly placed one is not worth anything, and a tier does not fix a bad position.
Realm notes
- Verdant Hollow: monsters regenerate if you do not finish them off. Blasts that damage many at once help you finish groups before they recover.
- Ember Wastes: fallen enemies leave fire puddles that slow your towers. Keep that in mind when the Cannon is clearing enemies close to your other towers.
- Clockwork Citadel: the machines shrug off weak hits, so do not expect a lone early Cannon to carry the level. The game suggests bringing the heavy towers.
Combining with your powers
The Meteor power drops on the thickest part of the wave, and the Cannon rewards the same thing: density. If you are saving Meteor for a scary wave, use Cannons and a slowing tower to build the crowd the Meteor wants to hit. Overcharge pushes towers past their limits, so it is a natural moment to fire it when a big clump is inside your Cannon's reach.
You can see the full tower roster on the Sozo Tower Defense page.
When the Cannon is the wrong pick
Every tower is a trade-off, and the Cannon's trade-off is clear from its description: explosive shells that blast whole groups of ground enemies. That makes it a poor answer to a single lone target and no answer at all to flyers, which skip the path entirely. If a level keeps sending thin lines of individual enemies, or a wave is mostly airborne, extra Cannons will sit idle while the real threat walks past. Check the wave composition before you commit a slot. A defense with two or three well-placed Cannons plus anti-air usually beats one built from Cannons alone, and the Missile Battery or your own hands can take care of anything above the path.
FAQ
What does the Cannon do in Sozo Tower Defense?
It fires explosive shells that blast whole groups of ground enemies.
Does the Cannon work against flying enemies?
Its description focuses on ground enemies. For flyers, use the Missile Battery, your own shooting or a punch.
Where should I place the Cannon?
Near a spot where enemies bunch up, such as just after a Frost Spire slows the wave or around a sharp corner.
Is the Cannon good on hard difficulties?
It is a strong tool for any difficulty when waves come in crowds, but harder modes need a mix of towers rather than Cannons alone.