Overcharge Power Guide: Turning Close Calls into Sweeps
An Overcharge power guide for Sozo Tower Defense: when pushing your towers past their limits pays off and how to line it up with other powers.
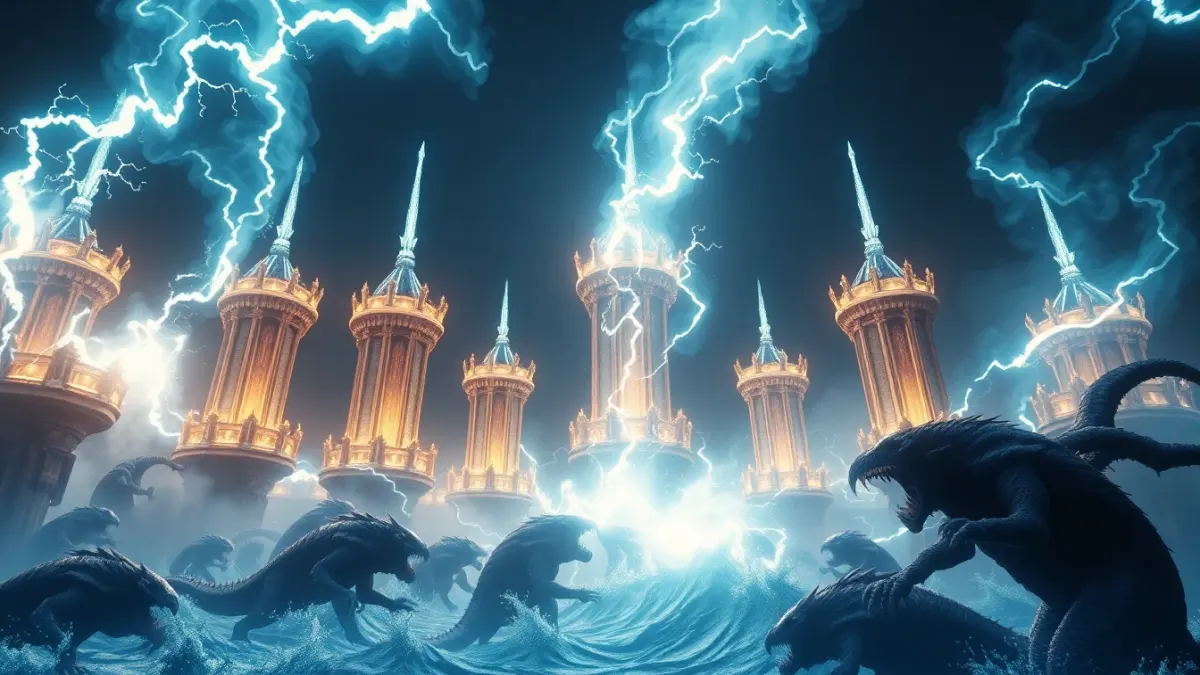
Overcharge is the power that rewards preparation. The game's description is brisk: push your towers past their limits and turn a close call into a clean sweep. Unlike Meteor, which is aimed at a spot, Overcharge applies to your whole defense, so the question this Overcharge power guide answers is not "where?" but "when, and with what behind it?"
It amplifies what you already have
Overcharge doesn't build a defense; it boosts one. A strong, well-placed defense gets a lot out of it. A defense with a gap in the middle gets less. Think of it as a multiplier: it's only as good as the thing it multiplies.
So before relying on it, make sure your kill zone does its basic job without it. Then Overcharge becomes the difference between "barely held" and "wiped the wave".
Best moments to fire it
- When the thickest part of the wave is inside your overlapping zones. Your towers all have targets at the same time, so a boost goes further.
- During a close call. The game itself frames it as turning a close call into a sweep. If a wave is about to break through but your towers are in range, this is the moment.
- After a disruption. In Neon Overdrive, an EMP on death knocks out your towers; when they come back online, Overcharge helps recover the lost ground.
- Against a boss in the middle of your coverage. Giant bosses come with shields, and boosting everything while the boss is in the heart of your defense is a natural choice.
Moments to avoid
- When enemies are not yet in range; the boost is wasted on empty air.
- When the real problem is flyers that your towers can't reach; the Missile Battery or your own aim is the fix.
- On trivial waves.
Build to make it count
Overcharge scales with how many towers can use it, and how long enemies stay in range. Support it with:
- Frost Spire to keep enemies in the zone.
- Overlapping ranges so many towers are active at once.
- Tower diversity, so the boost helps against several kinds of enemies. See combining damage types.
Pairing with other powers
- Stasis then Overcharge: pause, think, then boost the sweep.
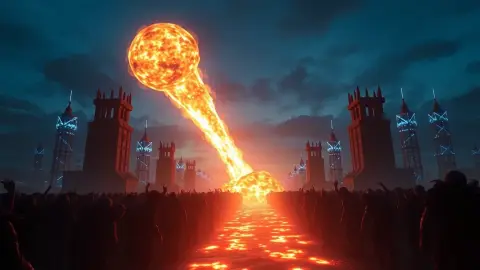
- Meteor then Overcharge: remove the thickest part, then boost the towers to finish the rest.
- Overcharge alone: when your defense is mostly intact and just needs a push.
The order matters. Using Meteor first means fewer enemies for the boosted towers to clear, but using Overcharge first means the towers deal more damage while the dangerous clump is still intact. Experiment on Casual or Normal.
Realm tie-ins
- Verdant Hollow: monsters regenerate if you do not finish them off; a boosted burst helps you finish them.
- Sunken Depths: monsters heal each other, and burst damage beats healing.
- Clockwork Citadel: the machines shrug off weak hits, so more power from your heavy towers helps.
- Necropolis: the dead rise again, once; use the boost for the second push.
Mistakes to avoid
- Casting it the moment a wave appears.
- Forgetting you have it and dying with all three powers unused.
- Expecting it to fix a layout that leaves the crystal exposed.
Find the whole picture on the Sozo Tower Defense page.
Choosing which towers deserve the boost
Overcharge pushes your towers past their limits, which means its value scales with what you have built. Before you cast it, glance at which towers are actually in contact with the wave. A boost to a defense where half the towers cover empty path is a half-wasted power. The best moment is when your strongest, upgraded towers all have enemies in range at once. If you are unsure, wait a few seconds for the wave to bunch into your kill zone. Players sometimes cast it the instant a wave appears out of nerves, but patience typically lets the boost land on a full set of busy towers, which is exactly what turns a close call into a clean sweep.
FAQ
What does Overcharge do in Sozo Tower Defense?
It pushes your towers past their limits and turns a close call into a clean sweep.
Is Overcharge better than Meteor?
They do different jobs: Meteor hits the thickest part of the wave, Overcharge boosts your towers. Use whichever fits the problem.
When is the best time to use Overcharge?
When many of your towers have targets at once, ideally during a close call.
Does Overcharge help against bosses?
Giant bosses have shields, so boosting your towers while the boss is in your kill zone is a sensible use.