How to Protect the Core Crystal: A Layered Defense Plan
How to protect the Core Crystal in Sozo Tower Defense: build layered defenses, cover the final stretch and keep flyers from slipping through to the end.
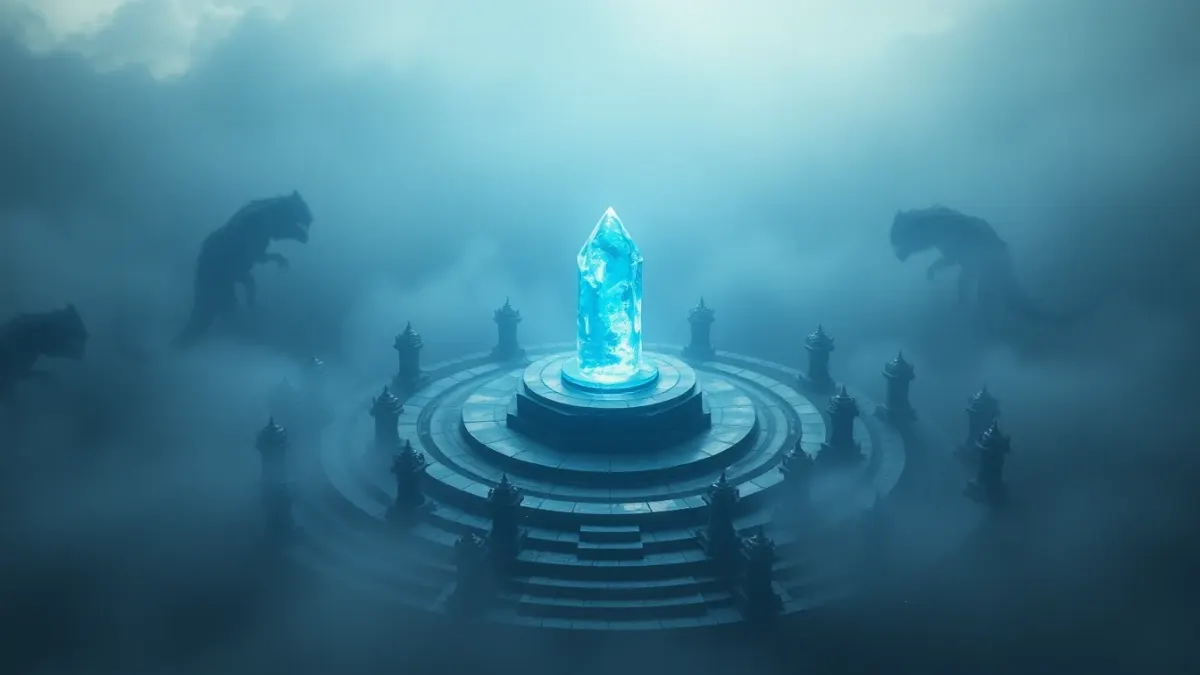
Everything in Sozo Tower Defense comes down to one object. At the end of every path floats the Core Crystal, and every monster in eight realms wants it. If you want to protect the Core Crystal reliably, stop thinking about individual towers and start thinking about layers.
Why last-second losses happen
Most near-losses have the same shape: the first 80 percent of the path works, then one enemy slips through a thin last stretch. Players put their strongest stuff early because that's where the action starts, leaving the finish line barely defended.
The three layers
Think of your defense as three bands along the route.
Layer 1: the thinning layer
The early path. Its job is to slow and thin the wave, not to kill everything. A Frost Spire slows the wave and buys time; a Cannon blasts ground groups. This layer should reduce the number and speed of enemies, so the later layers have an easier job.
Layer 2: the killing layer
The middle. This is where your overlapping towers and upgraded heavy hitters sit. Prism Lasers and well-placed Ballistas live here. For armored brutes, the game says to focus your fire; this is where you do it.
Layer 3: the crystal guard
The final stretch. A few towers with long views of the last part of the path, plus anti-air. This layer exists for the things that slip through, and for flyers, which skip the path entirely and head toward the crystal. The Missile Battery belongs here.
Why the last layer matters more than it looks
- Flyers ignore your path layers entirely.
- Risen monsters in Necropolis can reappear deeper than expected.
- Realm twists may disable your front towers (Neon Overdrive's EMP).
- Powers may run out.
A last layer is insurance against all of these.
You are part of layer 3
You are allowed to deal with flyers personally, by shooting them or punching them out of the sky. During air waves, stand close to the crystal so any leaks come within reach. Our punching guide shows how.
Using powers as the final reserve
- Stasis freezes the battlefield for a moment: a rescue when something breaks through.
- Meteor lands on the thickest part of the wave.
- Overcharge pushes your towers past their limits.
A good habit: always know which power you would use if the last layer failed, and keep it available until the final wave.
Diagnosing a loss
When the crystal falls, check:
- Where did the killer enemy enter your coverage? Was it a gap?
- What type was it? A flyer means anti-air; an armored brute means heavy damage.
- Was a twist responsible? Fire puddles, frost bursts, EMPs, healing, regeneration, phasing or rising dead.
- Did you save a power too long? Dying with powers unused is a common mistake.
Avoid over-hoarding
It's tempting to pile everything onto the last layer. But then enemies arrive at the crystal's doorstep in force. Balance: the early layers should do real work, with the last layer as backup.
A skeleton build
- Early: Frost Spire and Cannon.
- Middle: upgraded Ballista, Prism Laser, Tesla Coil or Flamethrower.
- Last: Ballista, Missile Battery, perhaps an Arcane Obelisk for what nothing else stops.
- You: near the crystal.
- Powers: ready.
For more on thinking about placement, read our placement and economy guide, and learn about the game on the Sozo Tower Defense page.
FAQ
What happens if monsters reach the Core Crystal?
The goal of each level is to stop them before they destroy it, so a leak is what you're trying to prevent.
Should I put all my towers near the crystal?
No. Use layers: thin the wave early, kill it in the middle and keep a guard at the end.
How do I stop flyers from hitting the crystal?
Build a Missile Battery near the crystal's approach and shoot or punch leaks yourself.
Which power saves a failing defense?
Stasis buys a pause to fix mistakes, and Meteor can clear the thickest part of the wave.